
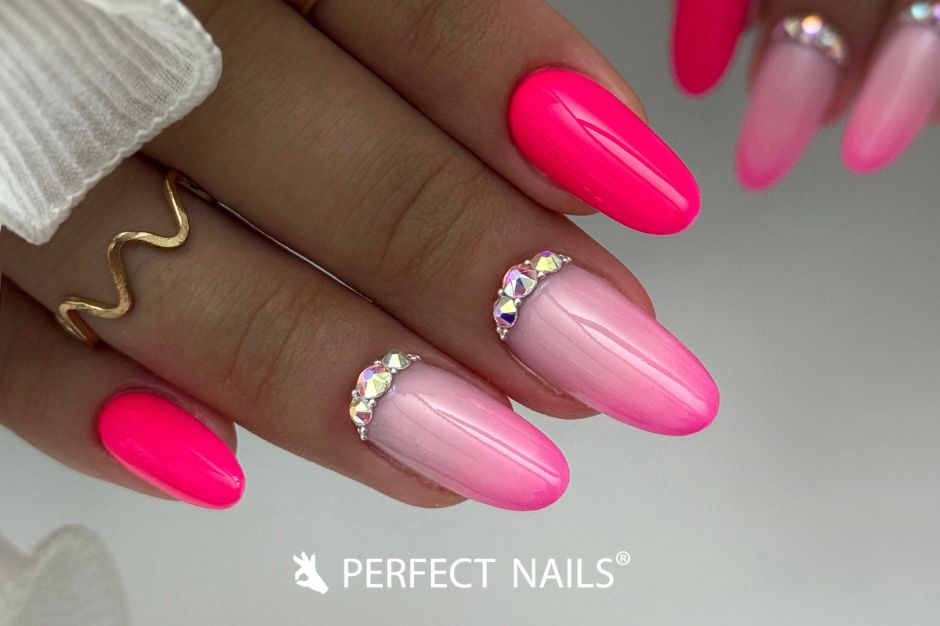
4 ombre techniques worth trying – Benefits, tips, tricks
Ombre – the beautiful color gradient – is one of the most popular nail designs among clients. Whether you're going for subtle elegance or bold, colorful looks, this technique is always trendy and incredibly versatile.
1. Ombre with gel polish – the classic solution
Gel polish ombre is one of the best-known and most widely used techniques, especially on natural nails or reinforced bases.
Benefits:
- Easy to access – almost every nail desk is equipped with gel polish.
- Builds well in thin layers, allowing for a natural finish.
- Perfect for nude or French ombre designs.
Technique in short:
Apply two gel polish colors side by side, then blend the transition line using a sponge, an ombre brush (e.g., Nail Art - Shading / Ombre Sponge), or soft wiping motions. Layering and patience are key here!
Tip:
To soften the transition even more, use a sheer nude or translucent shade between the colors – it creates a smoother, more seamless gradient.
2. Ombre with painting gel – for masters of precision
Painting gel (e.g., Art Gel) is thicker and much more pigmented than gel polish, making it a perfect choice for vivid, eye-catching ombre designs.
Benefits:
- Strong pigmentation, vibrant colors.
- Doesn’t run, giving you more time to work.
Technique in short:
Apply the selected colors evenly onto the nail surface, then blend them with gentle, unidirectional strokes using a special ombre brush. Since painting gel doesn’t self-level or spread, there’s no need to cure it immediately – perfect for creating precise gradients.
Tip:
Use a clean, dry brush to further refine the transition. Ideal when working with bold color combinations and aiming for an artistic finish.
3. Ombre with pigment powder – fast and dramatic results
Pigment powder ombre is a favorite for fans of matte, velvety textures – plus, it's quick and delivers sharp results.
Benefits:
- Quick application.
- Eye-catching, even gradients.
- Works perfectly with both matte and glossy top coats.
Technique in short:
After fully curing the light base color, tap pigment powder gently onto the nail edge using a sponge or applicator, then softly blend it toward the center. Finish with a fixer top gel to lock in the gradient and ensure long-lasting wear.
Tip:
Always work with small amounts of pigment in thin layers – this way, you’ll achieve the softest, most velvety effect without blotchiness.
4. Ombre with acrylic – the champion of durability
Acrylic ombre is especially popular among fans of long, strong artificial nails. In this method, the gradient is created during application, so no further blending or shading is needed afterward.
Benefits:
- Excellent durability – strong adhesion and long wear time.
- The color gradient forms during the building process.
- Perfect for extreme nail shapes (e.g., stiletto, edge, long almond).
Technique in short:
Start by shaping the free edge of the nail with the first color, then apply the second color closer to the cuticle area. With a soft, even motion, blend the two shades together. Achieving a smooth, harmonious transition requires a steady hand and practice.
Tip:
If you’re just starting out, choose lighter shades – they’re easier to work with, and small imperfections are less noticeable.
Ready to experiment? Try all four methods and discover your own style – because ombre will never go out of fashion!
Already found your favorite ombre technique? Check out our article: Elastic vs. Liquid Polygel – Which building material suits you best? Find the perfect material that matches both your technique and your personal style!
Author:
Ágnes Zsoldos

